Printing digital art at home is one of the most cost-effective ways to get high-quality wall art – but it is also where most people get frustrated. Colours look different from the screen. The print comes out blurry. The paper jams or the margins are wrong. One test print becomes three wasted sheets and a decision to just order framed art online instead.
Almost every printing problem has a specific, fixable cause. This guide on how to print digital art at home covers the exact settings, paper choices and file requirements that produce professional-looking results from a standard home inkjet printer – the first time, every time.
For the complete guide to buying, downloading and framing digital art, see the Digital Wall Art Guide 2026. This post covers the printing process specifically.
Before You Print: 3 Things to Check in Your File
Most home printing failures start before the printer is even switched on. Check these three things in your digital art file first:
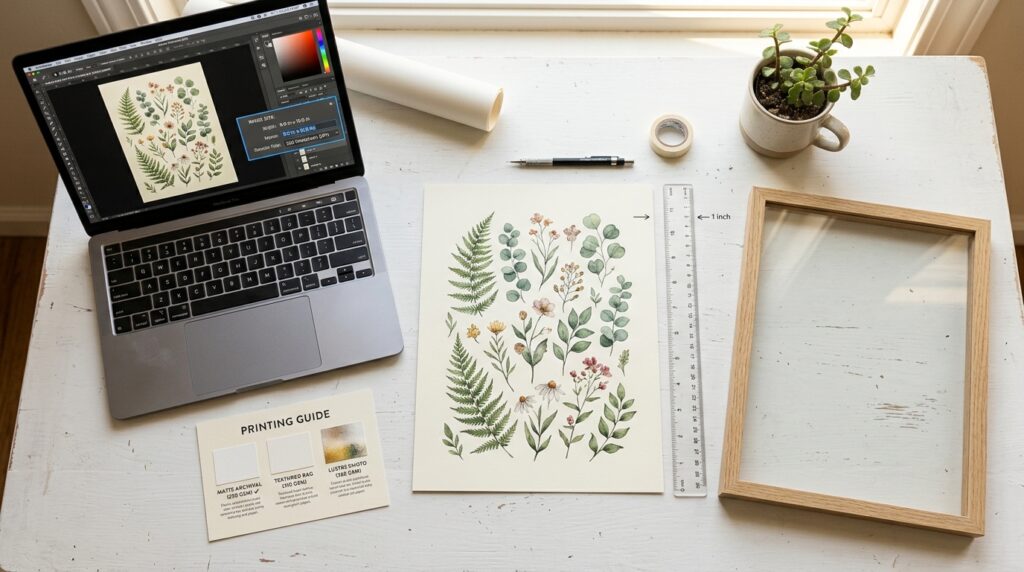
1. Resolution – minimum 300 DPI at print size
DPI (dots per inch) determines print sharpness. A file that looks crisp on screen at 72 DPI will print blurry at full size. Any digital art file intended for home printing must be at least 300 DPI at the size you intend to print. A reputable digital art seller will always state the resolution and maximum print size in the product listing. If it says “300 DPI up to 16×20” – do not print it larger than 16×20.
2. File format – PDF or high-resolution JPEG/PNG
PDF files are the best format for home printing – they preserve exact dimensions and colour profiles. High-resolution JPEG or PNG files at 300 DPI are also fine. Avoid printing from a screen screenshot or a low-resolution social media download – these are 72 DPI and will always print poorly.
3. Colour profile – sRGB for home printers
Most home inkjet printers are calibrated for the sRGB colour space. If your file uses a CMYK or Adobe RGB colour profile (common in professional print files), colours may shift on a home printer. Check the file colour profile in your image viewer or editing software and convert to sRGB before printing if needed.
Paper Choice: The Single Biggest Quality Difference
Paper makes more difference to print quality than almost any printer setting. The paper weight guide for home printing covers the full technical breakdown, but here is the practical summary for wall art specifically:
Do not use standard copy paper (80gsm)
Standard office copy paper is thin, absorbs ink unevenly, and produces flat, dull colours. It is not suitable for wall art printing regardless of how good your printer or file is.
Use these instead:
| Paper Type | Weight | Best For | Cost Per Sheet |
|---|---|---|---|
| Premium matte photo paper | 180 to 200gsm | Botanical prints, line drawings, soft colour art | $0.30 to $0.60 |
| Glossy photo paper | 200 to 250gsm | High contrast, photography, bold colour art | $0.25 to $0.50 |
| Luster/satin photo paper | 200 to 240gsm | Best all-rounder – slight sheen, rich colour | $0.30 to $0.55 |
| Fine art matte paper | 230 to 300gsm | Premium feel, gallery quality, thick and substantial | $0.80 to $2.00 |
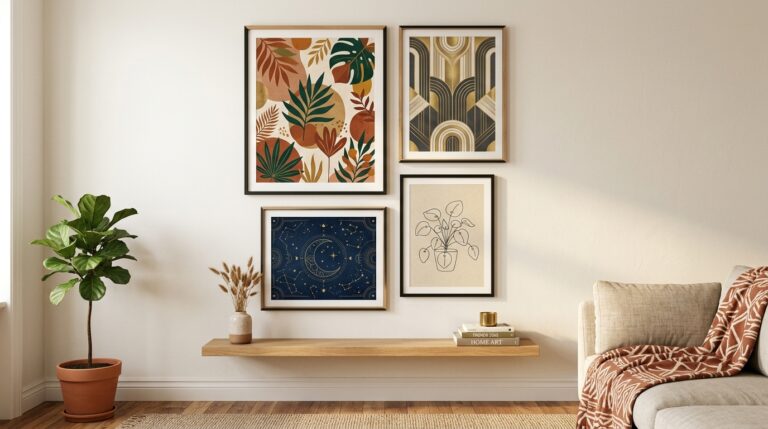
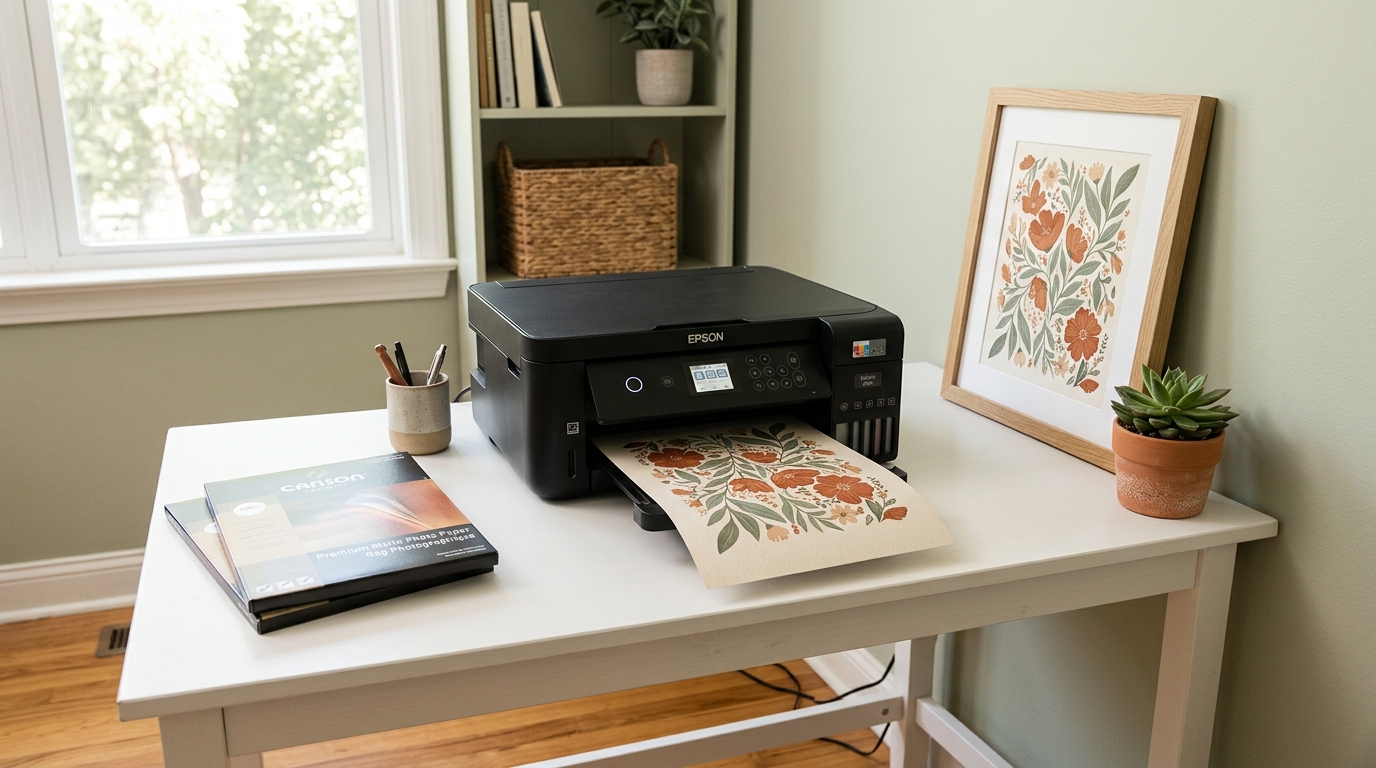
For boho and botanical art in 2026: Premium matte or fine art matte paper is the strongest choice. It gives a soft, gallery-quality feel that suits the warm earthy tones of Afrohemian and botanical prints far better than glossy paper, which can feel cold and overly commercial.
Load paper one sheet at a time for sizes larger than A4 to avoid jams and misfeeds.
Printer Settings: Exact Steps for Best Results
Once your file and paper are ready, these settings produce the best results on most home inkjet printers:
Step 1 – Open the file in your print dialogue
Open the PDF or image file directly from your file viewer (not from a browser or email attachment, which can compress the file). Select Print.
Step 2 – Set paper size
Match the paper size in your print settings exactly to the paper loaded in the printer. Mismatch here causes cropped or incorrectly scaled prints.
Step 3 – Set print quality to Best or High
Most printers default to Normal or Standard quality. Change this to Best or High (sometimes called Photo or Maximum DPI) for wall art. This uses more ink but produces significantly sharper results.
Step 4 – Select paper type
In the printer preferences, select the paper type that matches what you have loaded – Matte Photo Paper, Glossy Photo Paper, or Premium Photo Paper. This tells the printer how much ink to lay down and at what speed. Wrong paper type setting is a common cause of smearing and uneven colour.
Step 5 – Turn off auto colour correction
Many printers apply automatic colour correction that shifts colours away from the original file. In printer preferences, look for Colour Management and set it to No Colour Adjustment or Application Managed Colours. This preserves the colours as intended in the original art file.
Step 6 – Do a test print on copy paper first
Before printing on your premium paper, print a small test on standard copy paper at the correct settings to confirm sizing, orientation and colour look right. This saves expensive paper from a settings error.
Print Sizes: What Fits on a Home Printer
Most standard home inkjet printers handle up to A4 (8.3×11.7 inches) or US Letter (8.5×11 inches). Some models handle A3 (11.7×16.5 inches) or tabloid (11×17 inches) – check your printer specifications.
| Print Size | Fits Standard Home Printer? | Alternative |
|---|---|---|
| 5×7 | Yes | Print two per A4 sheet to save paper |
| 8×10 | Yes – A4 or Letter | Standard home print |
| 11×14 | A3 printer only | Print shop for $3 to $6 |
| 16×20 | No | Print shop for $8 to $15 |
| 18×24 | No | Print shop for $12 to $20 |
| 24×36 | No | Print shop for $18 to $35 |
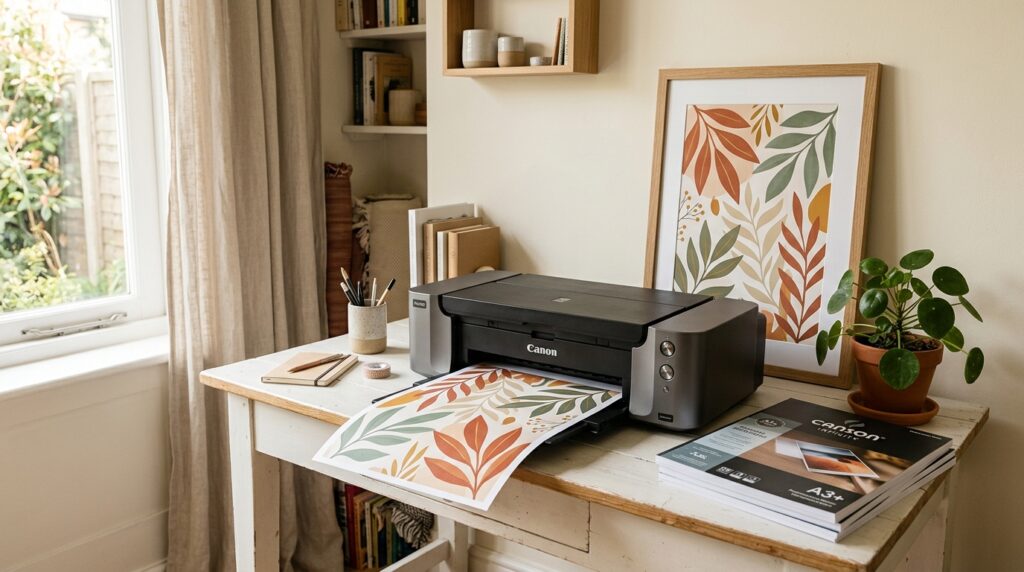
For sizes beyond your home printer’s capability, a local print shop or online service (Canva Print, Printful, or a local Staples or FedEx Office) prints on quality paper at full size. Upload your 300 DPI file, specify matte or lustre finish, and collect or have it shipped. The cost is $5 to $35 depending on size – still far cheaper than buying framed retail art.
To confirm what size art works best on your specific wall before printing, use the Free Wall Art Size Visualizer. See Wall Art Sizes for Small Apartments for the full sizing guide by room type.
Framing Your Printed Art
Once printed, framing options for home-printed art:
- Standard size frames – IKEA RIBBA, Amazon Basics, and similar ranges offer frames in 8×10, 11×14, 16×20 and 18×24 at $8 to $25. Buy frames before printing to confirm exact print size needed
- Mats – a white or cream mat border inside the frame makes a small print look larger and more gallery-quality. An 8×10 print in an 11×14 frame with a white mat looks significantly more elevated than the same print in an 8×10 frame
- Clip frames – frameless glass clip frames let the print float without a frame border. Clean and modern look, best for line drawings and minimalist art
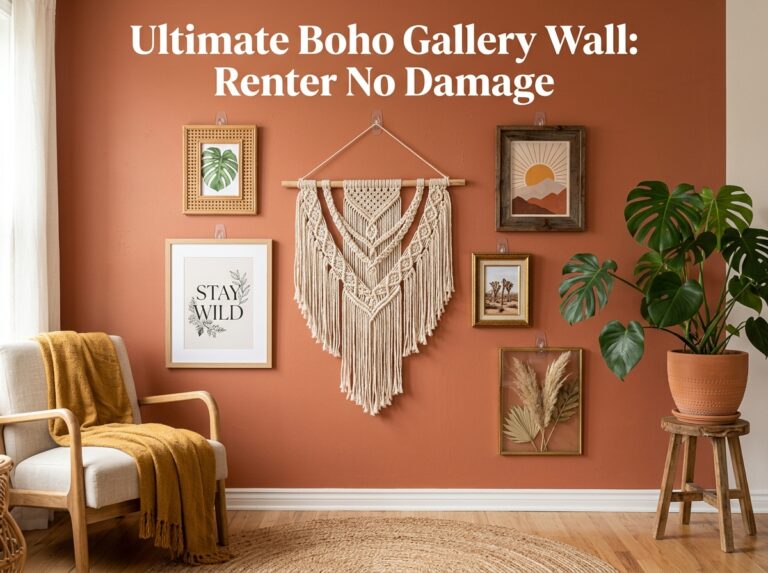
- Leaning rather than hanging – for renters, leaning a framed print against the wall on a shelf or console table avoids wall damage entirely
For frame sizing, mat selection and the best renter-safe hanging methods for every frame and print size, the Perfect Frame Guide covers everything – $3.
Frequently Asked Questions
Why does my printed digital art look different from the screen?
Screens emit light (RGB colour) while printed paper reflects light (closer to CMYK). This means printed colours always look slightly different from screen colours – typically slightly warmer and less saturated. To minimise the difference: use the sRGB colour profile in your file, turn off auto colour correction in printer settings, and use premium matte paper which renders colour more accurately than glossy paper on most inkjet printers.
What is the best paper for printing botanical and boho wall art at home?
Premium matte photo paper at 180 to 200gsm is the strongest choice for botanical prints, line drawings and warm-toned boho art. It gives a soft, gallery-quality finish that suits earthy tones and delicate botanical detail far better than glossy paper. Fine art matte paper at 230 to 300gsm is the premium upgrade if you want a noticeably thick, tactile result.
Can I print digital art at home if I only have a standard office printer?
Yes – with the right paper and settings, a standard home inkjet printer produces very good results for art up to A4 or Letter size. Use premium matte photo paper (not copy paper), set print quality to Best or High, select the correct paper type in printer preferences, and turn off auto colour correction. The paper choice makes more difference than the printer model.
How do I print digital art larger than my home printer can handle?
Upload your 300 DPI file to a local print shop (Staples, FedEx Office) or an online print service (Canva Print, Printful). Specify matte or lustre finish and the exact print size. Costs range from $5 for an A3 print to $35 for a 24×36 poster. This is still significantly cheaper than buying framed retail art at the equivalent size.