A well-planned renovation timeline is key to a successful home remodel. Scheduling tasks strategically, adding buffer time, and anticipating delays help you stay on track and avoid costly overruns.
Why Renovation Timeline Planning Matters
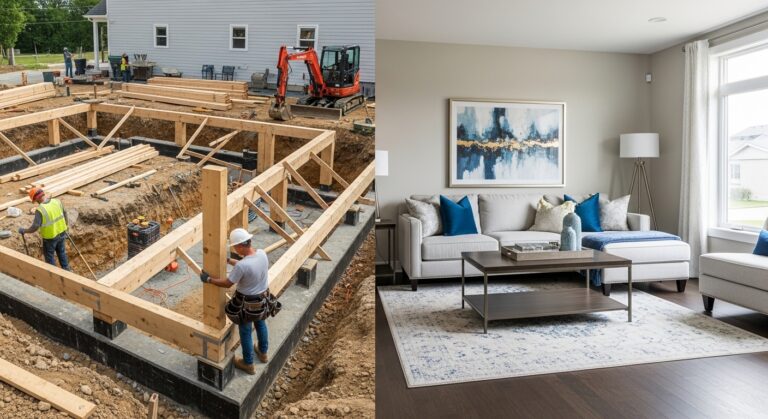
A realistic renovation schedule accounts for multiple phases—design, permitting, demo, construction, inspections, and finishing touches. Poor planning leads to frustration, extended disruptions, and extra expenses.
Step-by-Step Guide to Building Your Renovation Schedule
1. Define Project Scope and Goals
Start by clearly outlining what rooms and elements you want to renovate. Prioritize your must-haves and understand possible complexities like structural changes or permits.
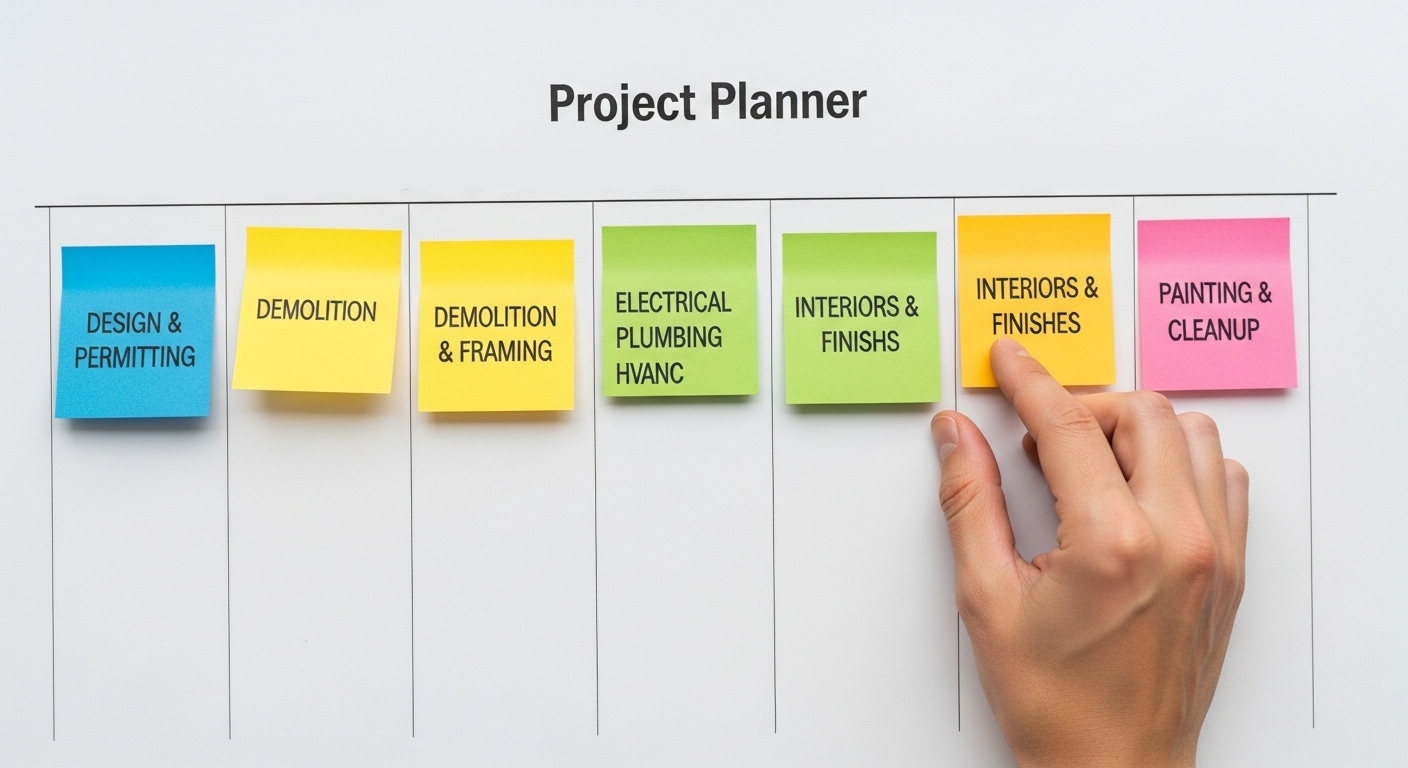
2. Break Work into Phases
Divide your project into manageable stages such as:
- Design and approvals
- Demolition
- Structural work and framing
- Systems upgrades (electrical, plumbing, HVAC)
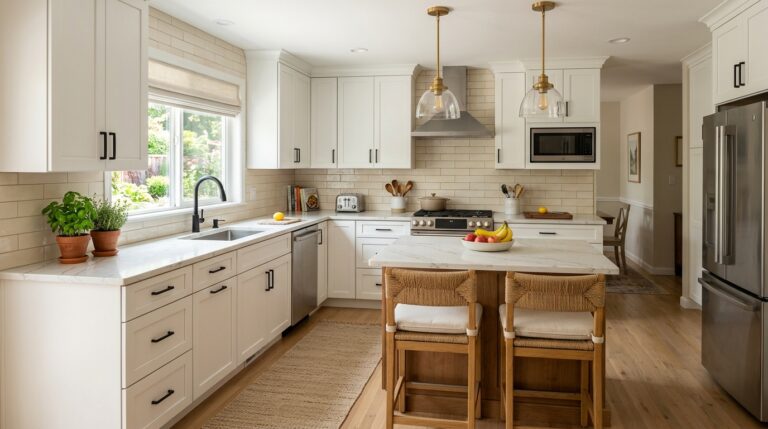
- Interior finishes and cabinetry
- Flooring and trim
- Painting and decorating
Each phase can depend on the completion of the previous one, so organizing them optimally is critical.
3. Estimate Time for Each Task
Use industry averages as a baseline but customize to your project’s size and complexity. For example:
| Task | Typical Duration |
| Design and permitting | 2–6 weeks |
| Demolition | 1–3 weeks |
| Structural framing | 2–4 weeks |
| Plumbing & electrical upgrades | 2–4 weeks |
| Drywall & finishes | 2–3 weeks |
| Painting & decorating | 1–2 weeks |
| Flooring installation | 1–2 weeks |
4. Add Buffers for Delays and Unexpected Issues
Include 10–25% extra time per phase to absorb delays like delivery hold-ups, permit processing, subcontractor availability, or weather interruptions. This eases pressure and helps avoid rushed decisions or compromised quality.
5. Create a Visual Timeline
Tools like Gantt charts or spreadsheet templates can visually map your renovation timeline with start/end dates, task dependencies, milestones, and responsible parties. This makes tracking progress easier.
6. Regularly Review and Adjust
Renovations are dynamic—check progress weekly and adjust schedules or resources as needed to stay aligned with your overall timeline and budget.
Table: Renovation Timeline Sample Overview
| Phase | Week 1–2 | Week 3–4 | Week 5–6 | Week 7–8 | Week 9–10 | Week 11–12 | Buffer Weeks |
| Design & Permits | X | 1–2 | |||||
| Demolition | X | 1 | |||||
| Structural & Systems | X | X | 2 | ||||
| Interior Finishes | X | 1 | |||||
| Painting & Flooring | X | 1 | |||||
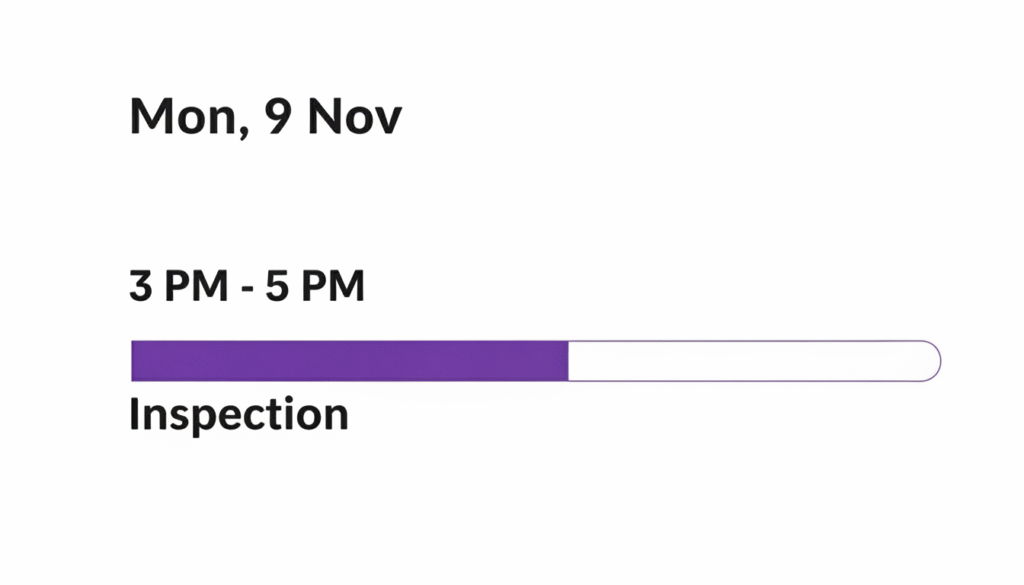
| Final Inspections & Touch-ups | 1 |
Location and Project Variation Tip
Timelines depend on project scale, local permitting duration, contractor availability, and regional supply chains. Urban projects often face longer approval periods. Adjust your schedule accordingly and stay flexible.
Planning Toolkit
Take the guesswork out of renovation timing. Get the Renovation Mastery Toolkit packed with schedule planners, budgeting templates, and expert guidance to manage your remodel confidently.
Renovation Mastery Toolkit »
Conclusion Careful timeline planning with thoughtful buffers ensures your renovation progresses smoothly, reducing stress and surprises. Use visual tools to track milestones and keep your project moving efficiently from design to completion.